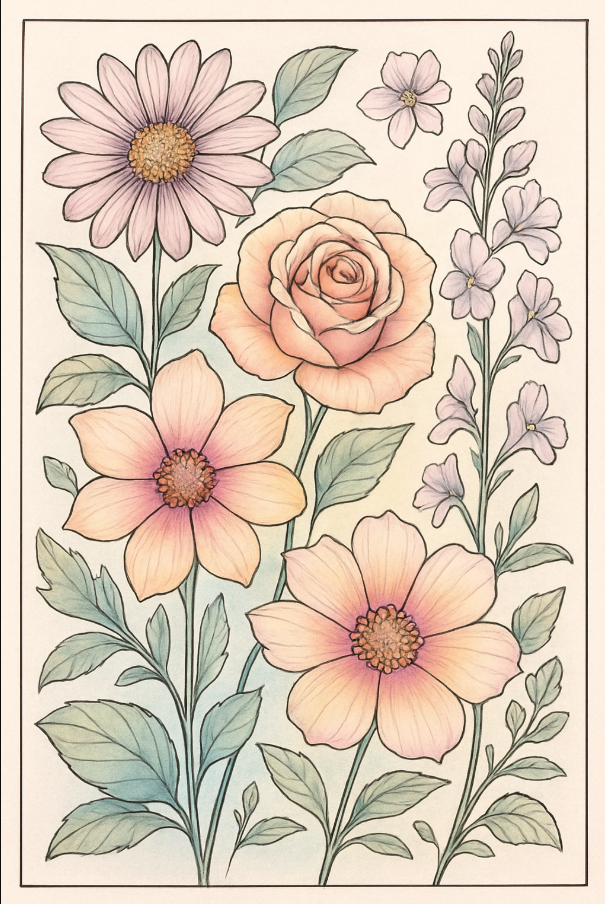
Simple Shading and Blending Tricks to Color Like a Pro

Coloring can be incredibly relaxing, but if you want your pages to stand out, mastering shading and blending is the secret sauce. Whether you love using colored pencils, markers, or gel pens, learning basic techniques can instantly transform your work from simple to stunning.
Today, I’m sharing some beginner-friendly techniques to help you shade and blend like a professional.
Why Shading and Blending Make a Big Difference
Flat colors are fine, but shading adds depth, texture, and personality to your coloring pages. By creating smooth transitions and realistic highlights, you can bring your artwork to life with hardly any extra effort.
The best part? You don't need fancy skills — just the right approach and some practice!
1. Build Color with Soft, Light Layers
Instead of pressing hard and trying to get a rich color immediately, layer your colors lightly.
-
Start with a gentle hand and add multiple thin layers.
-
Each layer will make the color deeper and more vibrant.
-
This method gives you greater control and creates softer, smoother blends.
Quick Tip: Hold your pencil or marker further back on the barrel — it naturally reduces pressure and keeps strokes lighter!
2. Use Small Circular Motions for Even Coloring
Skip the back-and-forth strokes that leave visible lines. Instead, move your pencil in small, soft circles.
-
Circular motion fills the paper more evenly.
-
It creates a beautifully blended effect without any harsh streaks.
This technique is especially useful when shading large areas or delicate backgrounds.
3. Blend Two Colors Like a Pro
Blending isn't just about fading one color — it’s about merging two shades seamlessly.
Here’s a simple method:
-
Apply your lighter color first, working about halfway across the area.
-
Bring your darker color in from the opposite direction.
-
Slightly overlap the two colors in the middle using light, gentle strokes.
-
Keep layering until the transition looks smooth and natural.
Extra Tip: Introducing a third "middle" color can create an even richer, more polished gradient!
4. Boost Blending with Special Tools
Want even smoother results? Use a colorless blender pencil or a white colored pencil.
-
Colorless blenders mix pigments without adding more color.
-
White pencils can soften and lighten blends beautifully.
After applying your colors, gently work over the area in small circles with your blending tool for a flawless finish.
5. Understand Your Light Source
To make your shading look realistic, always choose a light source.
Think about:
-
If the light comes from the top left, shade the bottom right areas darker.
-
If the light is overhead, leave the tops bright and darken the sides.
Keeping a consistent light direction adds realism and makes your pages feel more dynamic.
Handy Tools for Smoother Shading
-
Soft-core colored pencils (like Prismacolor or Arteza brands)
-
Blending stumps/tortillons for smoothing pencil shading
-
Alcohol markers (like Copic or Ohuhu) for effortless color transitions
-
Gel pens to add bright highlights over blended areas
Learning to shade and blend isn’t about perfection — it’s about exploration and fun!
The more you practice these simple techniques, the more confident you'll feel, and the more beautiful your finished pages will become.
So grab your favorite tools, pick a page that inspires you, and start experimenting.
You might be surprised how quickly you start coloring like a pro!
